Processing your Wax after a Honey Harvest

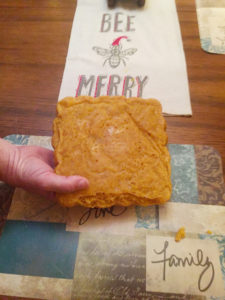
The finished Wax after cleaning and filtering 100% pure beeswax (Photo by Chris Erwin)
BY Chris Erwin
This is a subject I have never covered; however, I have got a request to do it. I want to include this subject from the perspective of a backyard beekeeper. If you are a commercial operation, you are going to do this differently. Having large amounts of wax requires an area other than your kitchen and few pots and pans.
To set the parameters, we are going to use the wax cappings from one super honey box. If this box is a medium box, you should get about 30 pounds of honey and about 1 ½ pound of wax. That doesn’t include any wax from frames you may decide to replace. We are only working with the wax capping as we decap the frames and extract the honey.
Once the honey drains from the cappings and I might add, I let them stand for a few days to drain, moving them around from time to time, to get all the honey out of the cappings I can get. I use a two-stage honey strainer over a bowel once it’s drained over the five-gallon bucket overnight.
You are going to need a few tools to do this job. A saucepan large enough to hold your cappings plus two or three cups of water and a spoon to stir the wax once it starts to melt. Some paper towels and a table knife to scrape the wax.
To begin, we put the cappings in our saucepan (this process will ruin a pan, use an old one, or buy a cheap pot) and keep it for this job. Add hot water to the pot with the cappings and stir them around. What we are trying to do here is remove as much honey as possible from the wax. Drain it and repeat.
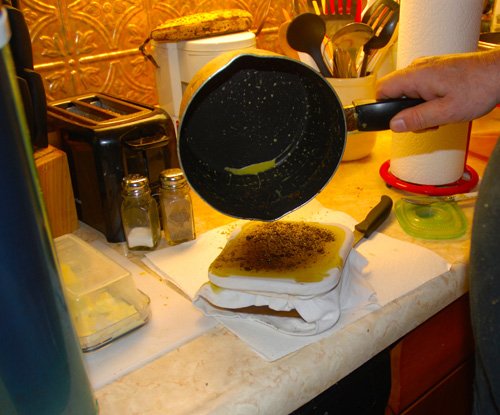
Once you have it as clean as possible, add three cups of water and begin heating the mixture. Keep stirring the water and wax until the contents are completely melted. Note: you must stay right with this; it can boil over very quickly. Wax is flammable and very hard to remove from your stovetop.
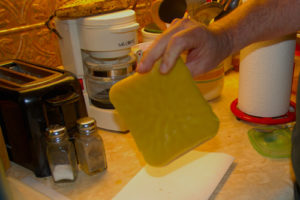
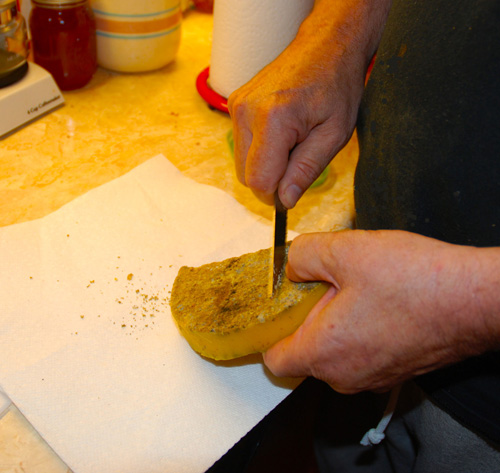
After you have the wax melted, let it stand until it’s hard and cold. The wax will float to the top, and the water will pour out from under the wax. Remove the slug of wax you might need to bang it a few times to get it to come out of the pan. Now flip over the wax all of the dirt and impurities will be on the bottom of the wax. Take the table knife and scrape the dirty wax from the bottom. Repeat the process at least one more time, and you are ready to do the final cleaning.
For the last step, you need a bowel or container to hold your clean wax. I use a large plastic butter container. I get an old clean T-shirt, and I cut out a section large enough to cover the top of the bowl and put a big rubber band around it to hold it in place.
This time when we heat the wax we do not add water, heat it slowly, so you don’t burn it. Once it’s on the edge of boiling you slowly pour the hot wax through the t-shirt material removing the rest of the dirt and impurities. You want to let it stand till it is completely cold before trying to remove it from the bowel or container.
At this point, you have 100% pure, clean Bees Wax. You can use it to make lip-balm, cantles, or if you use plastic foundation, you can reheat it and brush on your plastic foundation to rewax them if you want to recycle them. Chris Erwin is the founder and publisher of Kentucky Angling News an online magazine available at www.kentuckyangling.com/magazine Chris can be reached by email trimmer308@gmail.com